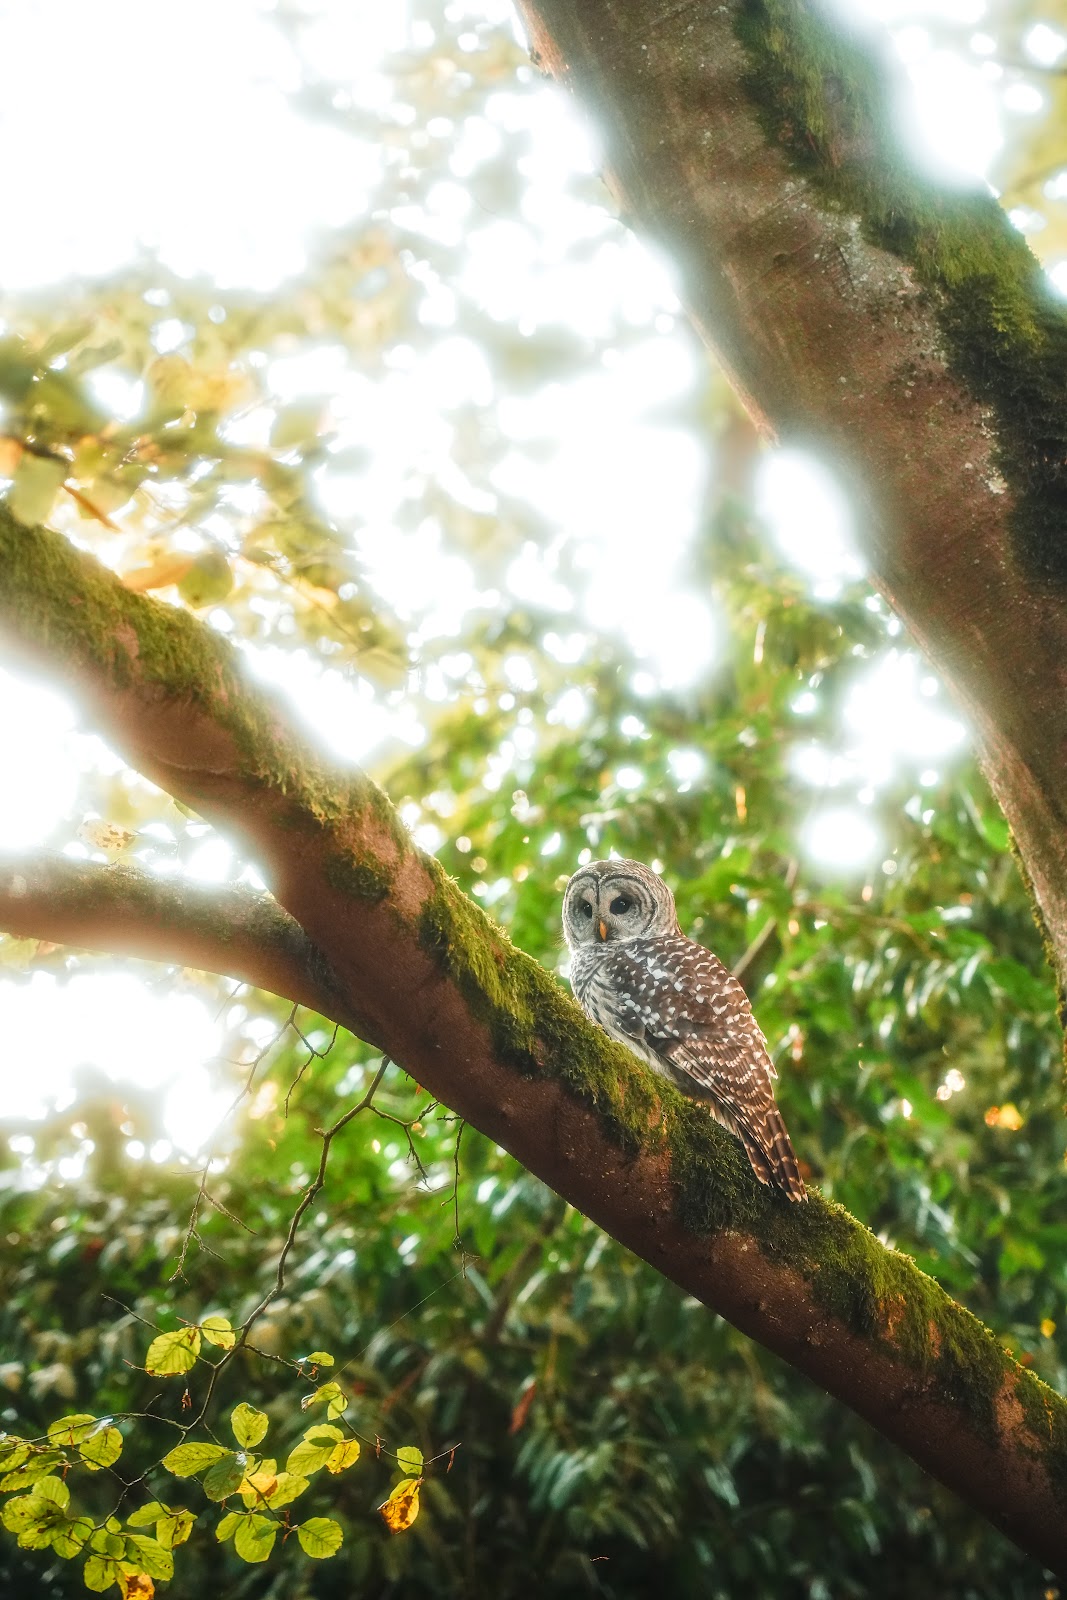
Wildlife photography camera settings are a moving target – the right combination changes with species, behavior, light, and distance. A perched owl at dusk requires completely different settings than a diving kingfisher in bright afternoon sun. This guide covers the optimal camera settings for wildlife photography in 2026 with specific values, the reasoning behind each choice, and how to adapt quickly when conditions change.
The goal of dialing in settings before a wildlife encounter is to remove decision-making during the moment. When a fox steps into golden light or a bald eagle breaks from its perch, you have 2–5 seconds. Every setting you haven’t pre-configured is a setting you’ll fumble with during those seconds. The photographers who capture exceptional wildlife images are not faster or luckier – they’re more prepared.
Shooting Mode: Manual with Auto ISO
The recommended default mode for wildlife photography is Manual exposure with Auto ISO enabled. Set your aperture and shutter speed to the values you need for depth of field and motion control; let Auto ISO handle the remaining exposure adjustment as light changes. This gives you full creative control over the two variables that most affect image quality (sharpness and depth of field) while removing the exposure-chasing that Aperture Priority or Shutter Priority modes require in dynamic wildlife lighting.
Configure Auto ISO with a maximum ceiling based on your camera’s noise performance. As a starting point: ISO 6400 for older or crop-sensor bodies, ISO 12800 for current-generation full-frame mirrorless cameras (Sony A1/A9 III, Nikon Z9/Z8, Canon R3/R5 Mark II). These produce usable files at those limits. Set a minimum shutter speed in Auto ISO to prevent the camera from choosing a too-slow speed that introduces motion blur – typically 1/1000s–1/2000s for most wildlife.
Shutter Speed: The Most Important Setting
Shutter speed is your primary control against motion blur – both subject motion and camera shake. Getting this wrong is irreversible; no amount of post-processing recovers a motion-blurred frame. Use these values as starting points and adjust based on your subject’s actual behavior:
- Perched birds, stationary mammals: 1/500s minimum. More if there’s wind movement or the animal shows signs of departing.
- Walking or slow-moving mammals: 1/800s–1/1000s.
- Running mammals (deer, fox, wolves): 1/1600s–1/2000s.
- Songbirds and smaller flying birds: 1/2000s–1/3200s.
- Raptors in flight: 1/3200s–1/4000s. Larger raptors (eagles, osprey) can be frozen at 1/2000s; smaller falcons at full stoop need 1/4000s+.
- Hummingbirds (wing blur vs. freeze): 1/4000s–1/8000s to freeze wing beats; 1/500s for the body-sharp, wings-blurred aesthetic.
The panning exception: Intentional panning at 1/60s–1/250s with a subject moving parallel to you can produce dramatic images with a sharp subject against a motion-blurred background. This requires practice – use burst mode and expect to keep 1 in 20 frames – but the results are distinctive and often more emotionally compelling than a clinically sharp freeze.
Aperture: Balance of Sharpness and Separation
Aperture affects two things in wildlife photography: depth of field (how much of the subject is in focus) and background separation (how blurred the background appears). The ideal aperture balances these against the light available:
- f/4–f/5.6: The sweet spot for most telephoto wildlife work. Enough light for reasonable shutter speeds in variable light; sufficient depth of field to keep the entire animal sharp at typical distances; good background separation at long focal lengths.
- f/2.8: Use when light is truly low (pre-dawn, deep shade, twilight). Depth of field becomes very shallow – at f/2.8 with a 400mm lens at 10 meters, depth of field is only a few centimeters. Focus precisely on the eye, or a sharp eye will be accompanied by a soft body.
- f/6.3–f/8: Use for closer subjects where depth of field matters (a full-body portrait of a mammal where head-to-tail sharpness is desired) or in bright light where you want to reduce ISO.
Note that maximum aperture varies across telephoto zoom lenses – many 100–500mm and 150–600mm zooms have a maximum aperture of f/5.6–f/6.3 at long end. Know your lens’s aperture at your most-used focal length and set your minimum shutter speed and Auto ISO maximum accordingly.
Autofocus Settings for Wildlife
Subject Detection / Animal Eye AF
Modern mirrorless cameras include Animal Eye or Subject Detection AF that uses machine learning to identify and lock onto animal eyes in the frame. This is transformative for wildlife photography – it means the camera can hold focus on a bird’s eye even as the animal moves, turns, or partially disappears behind grass. Enable this feature as your default for any wildlife shooting. On Sony, it’s found under Focus > Subject Recognition. On Nikon Z, it’s Animal Detection under AF Settings. On Canon R, it’s Animal Priority under Subject to Detect.
Animal Eye AF works best with clear subject-background separation (animal against open sky or uniform background). It can struggle with highly camouflaged animals against matching backgrounds, multiple animals in the frame, and species that cameras haven’t been trained on – some cameras handle mammals and birds far better than reptiles or insects.
AF Area Mode
With Subject Detection active, set your AF Area Mode to Wide or Full (depending on manufacturer). The camera’s subject recognition handles target selection – you don’t need to confine it to a zone. For cameras without reliable subject detection, use a Flexible Spot or Zone AF centered on the expected subject position and drive it manually.
AF Tracking Sensitivity
AF tracking sensitivity determines how quickly the camera switches focus between subjects when something passes in front of your primary target. Set it lower (1–3 on a Sony 1–5 scale) for wildlife in busy environments with crossing elements (branches, other animals, tall grass) to prevent the camera from “grabbing” foreground obstructions. Set it higher (4–5) for isolated subjects against clean backgrounds where you want the fastest possible tracking response.
Continuous AF (AF-C / C-AF)
Always use Continuous AF (AF-C on Sony/Nikon, AI Servo on Canon) for wildlife. Single AF locks focus when you press the shutter button – useless for moving subjects. Continuous AF maintains focus on the subject as long as you hold the AF button or half-press the shutter. Combined with Back Button Focus (BBF) – remapping AF activation to a rear button and disabling half-shutter AF – you gain independent control of focus and exposure. BBF is the standard configuration among serious wildlife photographers: thumb holds continuous focus, index finger fires the shutter independently.
Drive Mode: High-Speed Burst
Use your camera’s highest burst rate for peak action. Modern mirrorless cameras offer 20–120fps in burst mode. Higher burst rates increase your probability of capturing the peak moment – a wing fully extended, a predator mid-leap, a precise head position. However, higher rates generate enormous file volumes: at 120fps shooting 45MP RAW, you’re creating approximately 200MB per second of data. Use the highest burst rate for critical action windows; drop to a lower rate (10–15fps) during sustained behavior observation to manage file volume.
Pre-burst (available on Sony A1, Nikon Z9, and select other cameras) captures frames before you press the shutter by continuously buffering recent frames. This is invaluable for wildlife where the decisive moment precedes your reaction – enable it for any situation where you’re tracking a subject that might take sudden action.
Metering Mode
Evaluative/Matrix metering (the default multi-zone metering mode) works well for most wildlife scenarios. It evaluates the entire scene and attempts to balance exposure across all zones. However, when your subject fills a small portion of the frame against a very bright or dark background – a dark bird against a bright sky, or a light-colored mammal against dark trees – evaluative metering will expose for the background rather than the subject.
Use Spot or Center-Weighted metering when shooting high-contrast scenarios with small subjects. Spot metering evaluates only the small central zone – expose to the subject, use exposure compensation if the subject is brighter or darker than 18% gray (expose lighter animals +1 to +1.5 stops, darker animals -0.5 to -1 stop from the spot-metered value).
White Balance
Auto White Balance (AWB) works reliably for wildlife photography in most conditions and has improved dramatically in recent-generation cameras. For golden hour shooting where the warm cast is intentional and desirable, consider locking white balance to a specific Kelvin value (5500–6500K) to prevent AWB from neutralizing the warmth that makes golden hour distinctive. Shooting RAW allows complete white balance adjustment in post – for wildlife photographers, AWB and RAW is the most practical combination.
Picture Profile / Picture Style
Picture profiles affect JPEG output; they’re irrelevant to RAW files (which contain raw sensor data unaffected by in-camera processing). If shooting JPEG or using Live View to assess exposure in the field, use a neutral or flat profile to most accurately represent the scene’s dynamic range. Vivid or landscape profiles boost saturation in JPEG output, which can make the Live View histogram misleading for exposure assessment.
Memory Cards for High-Speed Wildlife Shooting
High-burst wildlife photography is one of the most demanding workflows for memory card performance. Buffer depth (how many frames you can capture before the camera slows to write-speed) depends on both the camera’s buffer size and the card’s write speed. Underperforming cards with high-burst cameras result in a full buffer at the worst possible moment. Use cards rated for your camera’s highest burst capabilities:
- Sony Tough CFexpress Type A 160GB – Designed for Sony’s CFexpress Type A slot cameras (A1, A7R V, A9 III). Sony’s own card is the safest compatibility choice for these bodies. 160GB handles a productive full day of wildlife shooting.
- ProGrade Digital CFexpress Type B 512GB – For Nikon Z9/Z8 and Canon R5 Mark II CFexpress Type B slots. 512GB provides comfortable buffer for multi-day shoots without managing card swaps in the field.
- SanDisk Extreme Pro SDXC V90 256GB – For cameras with SD card slots. The V90 speed rating (90MB/s minimum write speed) is required for reliable 4K video and high-burst RAW; avoid V30 or V60 cards for demanding wildlife workflows.
Frequently Asked Questions
What shutter speed should I use for wildlife photography?
Use at least 1/1000s for most wildlife, 1/2000s for running mammals, and 1/3200s–1/4000s for birds in flight. Stationary subjects can be captured at 1/500s. Hummingbirds require 1/4000s to freeze wing beats. When in doubt, use a faster shutter – a motion-blurred shot cannot be saved in post-processing, while a sharp shot at a higher ISO can be noise-reduced effectively.
What autofocus mode is best for wildlife?
Continuous AF (AF-C) with Animal Eye or Subject Detection enabled is the best autofocus mode for wildlife photography on modern mirrorless cameras. Enable Back Button Focus to separate focus activation from the shutter – hold the rear AF button to track continuously, fire the shutter independently. Set AF Area to Wide or Full with subject detection active. This combination allows the camera to maintain eye-lock on moving animals across the full frame without manual recomposing.
Should I use electronic or mechanical shutter for wildlife photography?
Electronic shutter is now the preferred choice for wildlife photography on cameras with global shutters (Sony A9 III) or minimal rolling shutter distortion. It enables the highest burst rates (30–120fps) with no mechanical wear and silent operation (important for not disturbing skittish subjects). On cameras with significant rolling shutter in electronic mode (many older mirrorless bodies), use mechanical shutter for fast-moving subjects where distortion of moving elements would be visible. Check your specific camera’s rolling shutter performance before committing to electronic mode for wildlife action.
What is the best ISO setting for wildlife photography?
Use Auto ISO with a ceiling matched to your camera’s noise performance – typically ISO 6400 for older bodies and ISO 12800–25600 for current full-frame mirrorless cameras. Set a minimum shutter speed in Auto ISO settings to prevent the camera from choosing a speed too slow for motion control. The best ISO is the one that allows your target shutter speed in current light conditions – don’t sacrifice shutter speed to avoid high ISO. A sharp, slightly noisy image at ISO 6400 is always preferable to a motion-blurred image at ISO 800.
How do I set up Back Button Focus for wildlife photography?
Back Button Focus (BBF) remaps autofocus activation from the shutter button half-press to a rear thumb button (typically the AF-ON button). In your camera’s custom button settings, assign AF-ON to “AF On” and disable AF from the shutter button (set it to “AF Off” or “AE Lock Only”). Now: press and hold the rear thumb button to run continuous AF tracking; press the shutter button independently to capture. This lets you hold focus tracking across multiple frames during a burst without interruption, and stop tracking instantly by releasing the thumb button – useful for when a foreground element passes in front of your subject.
Browse more nature photography tutorials, gear reviews, and field tips.
Download our guide: exposure, ISO, and aperture strategies for every light condition and terrain.
We respect your inbox. One guide, occasional tips, unsubscribe anytime.
Related Guides
 How to Photograph the Milky Way: Settings, Planning & Post-Processing
 Mastering Long Exposure Photography: A Complete Guide to Silky Water & Dramatic Skies