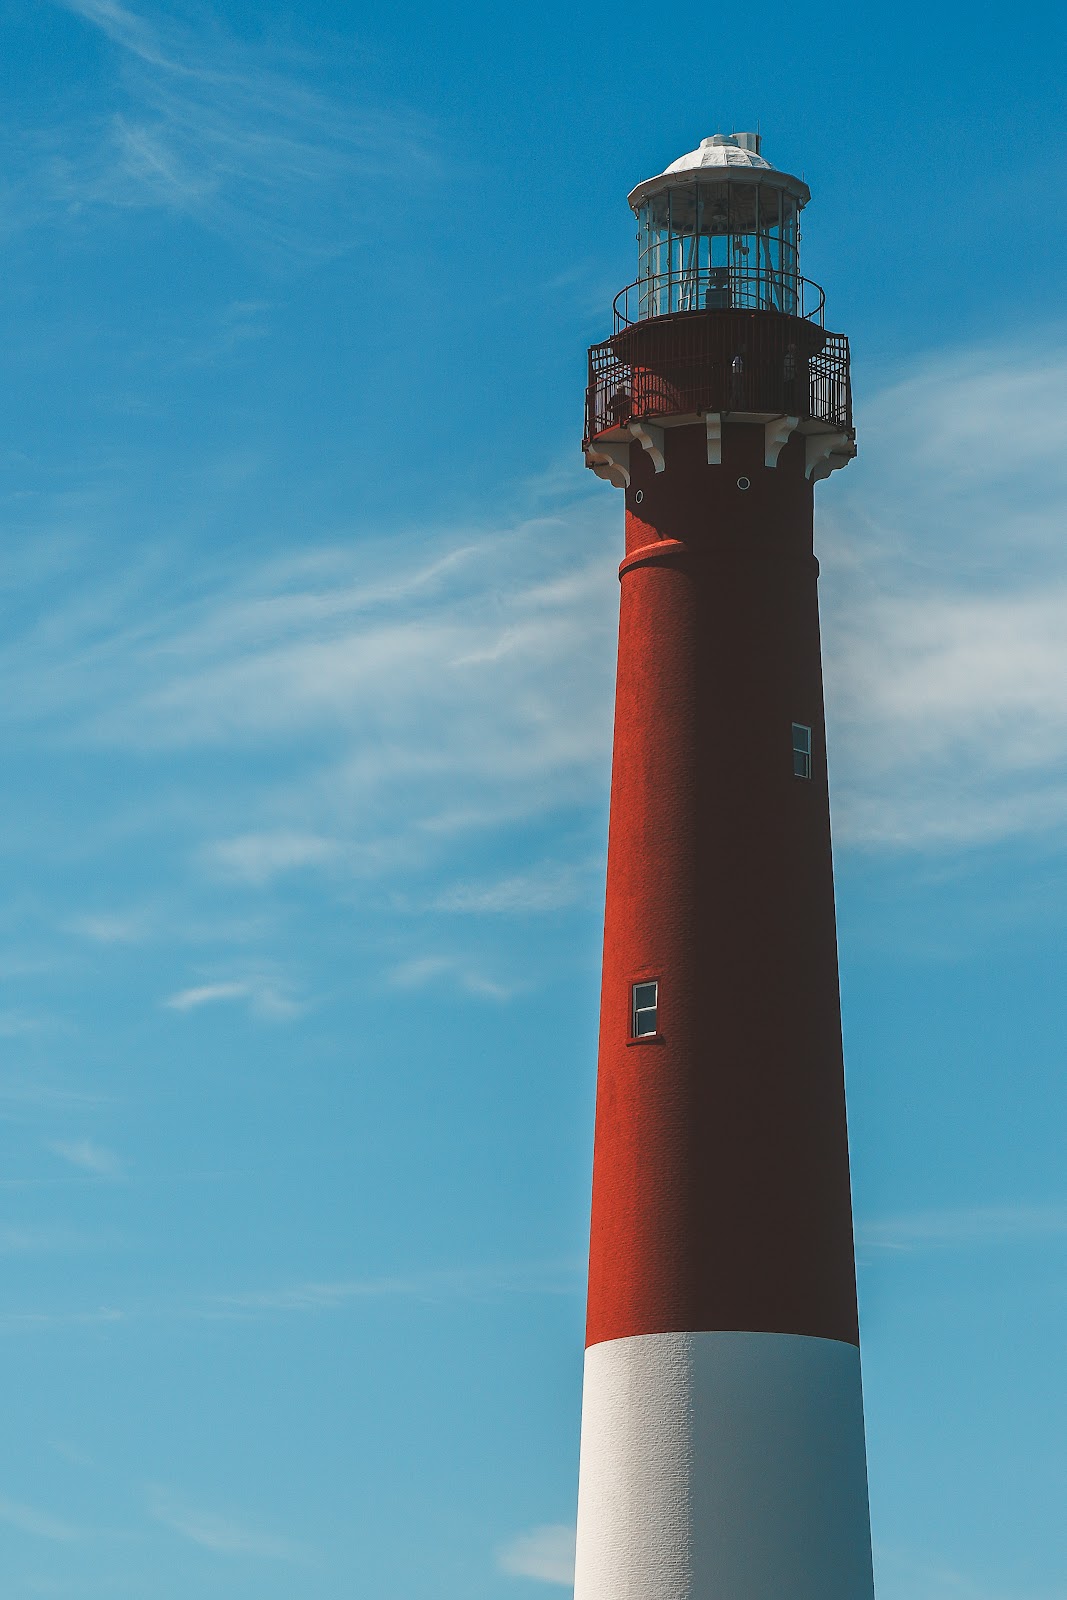
The right photo editing software can transform your nature photography workflow from a chore into a creative process. But with more options than ever in 2026 – subscription-based, one-time purchase, AI-powered, and platform-specific – choosing the right tool for your needs is harder than it looks. This guide breaks down the best photo editing software for nature photographers in 2026, from beginner-friendly options to professional workhorses.
What Nature Photographers Need From Editing Software
Not all photo editors serve nature photography equally well. Look for:
- RAW processing quality: Your RAW files contain far more information than any JPEG, and the quality of RAW decoding varies significantly between applications. The best software recovers maximum highlight and shadow detail from your files.
- Non-destructive editing: The ability to adjust, revisit, and change your edits without degrading the original file – essential for professional workflows.
- Color accuracy: Accurate, controllable color rendering for the subtle greens of foliage, the warm oranges of golden hour, and the true blues of sky and water.
- Masking and local adjustment tools: AI sky selection, subject masking, gradient tools, and brush adjustments that let you affect specific parts of an image independently.
- Performance: Large RAW files from 40–61MP cameras require GPU-accelerated processing. Slow software kills your editing motivation.
- Catalog and organization: Nature photographers accumulate thousands of images per outing. A strong catalog and culling workflow saves time at every session.
Best Photo Editing Software for Nature Photographers (2026)
1. Adobe Lightroom Classic – The Industry Standard
Adobe Lightroom Classic remains the most widely used photo editing workflow application for professional nature photographers. Its non-destructive RAW processing, excellent catalog organization, and the breadth of tutorials and community support make it the default starting point. Key 2026 additions include AI-powered object selection masking that rivals Photoshop, AI Denoise (extraordinary noise reduction that outperforms all standalone noise tools), and generative AI removal for distracting elements. Available via Adobe Creative Cloud Photography subscription.
- Pros: Industry-standard workflow, best catalog tools, excellent masking, huge community and educational resources
- Cons: Subscription-only, can feel slow on very large libraries, RAW color rendering slightly behind Capture One on some camera profiles
- Best for: Photographers who want the standard professional workflow with the most resources available
2. Capture One – Best RAW Image Quality
The Capture One boxed version (or subscription) is preferred by many professional commercial and fine art photographers for its superior RAW color science. Capture One’s camera color profiles are more accurate on many bodies than Lightroom’s – particularly for Sony and Phase One cameras. Its layer-based editing workflow offers more control than Lightroom’s single-layer masking approach. For photographers who sell fine art prints and care deeply about accurate, rich color rendering, Capture One is worth the learning curve.
- Pros: Best RAW rendering quality, superior color science, advanced layer-based editing
- Cons: Steeper learning curve than Lightroom, less intuitive catalog management, expensive
- Best for: Professional fine art and commercial photographers who prioritize maximum image quality
3. Skylum Luminar Neo – Best AI-Powered Editor
The Skylum Luminar Neo leads the industry in AI-powered nature photo editing. Its AI Sky Replacement identifies and replaces skies in landscape photos automatically; AI Structure adds texture and detail non-destructively; and its Portrait AI tools produce polished results with minimal manual effort. For landscape photographers who want speed over surgical control, Luminar Neo’s one-click enhancements often outperform hours of manual work in Lightroom. The Aurora HDR module handles high-dynamic-range landscape blending effectively.
- Pros: Best AI editing tools for nature photography, one-time purchase option, genuinely impressive sky replacement and atmosphere effects
- Cons: Catalog management not as robust as Lightroom, can apply an over-processed look if tools are pushed too far
- Best for: Landscape photographers who want fast, impactful results with minimal manual effort; HDR enthusiasts
4. ON1 Photo RAW 2024 – Best All-in-One Lightroom Alternative
ON1 Photo RAW is a subscription-free Lightroom alternative that combines RAW editing, organization, effects, and resize (AI upscaling) in one package. For nature photographers who resist Adobe’s subscription model, ON1 offers a comparable feature set – including AI subject masking, HDR tools, noise reduction, and a non-destructive RAW workflow – at a one-time or annual purchase price significantly lower than Creative Cloud.
- Pros: No subscription required, one-time purchase, comprehensive feature set, built-in AI upscaling
- Cons: Smaller community than Lightroom, some AI tools lag behind Adobe’s latest, less polished interface
- Best for: Photographers who want a complete Lightroom alternative without ongoing subscription costs
5. Topaz Photo AI – Best for AI Noise Reduction and Sharpening
Topaz Photo AI is not a full editing suite but it provides the best AI noise reduction and sharpening available in 2026 – significantly outperforming built-in noise reduction in Lightroom and Capture One for high-ISO wildlife images. Running a noisy ISO 12800 eagle portrait through Topaz DeNoise AI recovers feather detail that would otherwise be lost. Topaz Sharpen AI recovers focus on slightly soft shots that would otherwise be discards. These tools work as Lightroom plugins or standalone applications.
- Pros: Best noise reduction available for wildlife high-ISO files, excellent AI sharpening recovery
- Cons: Not a full editing workflow; best used in combination with Lightroom
- Best for: Wildlife photographers who regularly shoot at high ISO; photographers with slightly soft shots needing sharpening rescue
The Recommended Stack for Nature Photographers
Most professional nature photographers use a combination rather than a single tool:
- Primary workflow: Lightroom Classic or Capture One for cataloging, RAW processing, and output
- AI noise reduction: Lightroom’s built-in AI Denoise (excellent) or Topaz Photo AI for wildlife images with severe noise
- Fine art printing workflow: Lightroom’s soft proofing module, or export to Photoshop for final ICC-profiled print output
Frequently Asked Questions
Building an Efficient Editing Workflow for Nature Photography
The right software is only effective with a consistent, repeatable workflow. Many photographers own excellent tools and still spend 3x more time editing than necessary – because they lack a system. A well-structured workflow saves hours per session and produces more consistent results than any individual software feature.
The Three-Pass Approach
Professional nature photographers typically work in three editing passes rather than trying to perfect each image before moving to the next:
Pass 1 – Culling: Go through every image from the session and flag or rate quickly. In Lightroom Classic, use the P key (Pick) and X key (Reject) for fast binary culling, then filter to show only picks. In Capture One, use star ratings or color tags. The goal is brutal speed – spend 2–3 seconds per image deciding keep or reject. Don’t stop to assess quality at 100% zoom at this stage. Look for obvious technical failures (blur, blink, wrong exposure) and eliminate them. This pass typically takes 15–30 minutes for 500 images.
Pass 2 – Batch processing: Apply a base preset to all culled selects simultaneously. This handles white balance, exposure baseline, noise reduction defaults, output sharpening, and color profile selection in one operation. Then use Lightroom’s Compare view or Capture One’s Viewer to do a second pass at reduced zoom (25–50%), making individual exposure and white balance corrections where the base preset missed. This pass handles 80–90% of the editing for most images.
Pass 3 – Hero image refinement: Identify your 10–20 strongest images from the session and give them full editing attention – advanced masking, targeted adjustments, local sharpening, export. These are the images that will be printed, submitted, or shared prominently. Spending 10–20 minutes per hero image is appropriate; spending 10 minutes per image on 500 images is not sustainable.
Organizing Your Catalog for Long-Term Efficiency
A disorganized catalog becomes a liability over time. Lightroom Classic’s folder structure should mirror your file system (organized by year and month, or by shoot location), not fight it. Use collections to organize images editorially – Best of 2026, Portfolio, Stock Submissions, Social Media – independently of the physical folder structure. Smart collections (auto-populated based on rules like “3 stars or higher, flagged as pick”) save time by automatically aggregating images that meet criteria without manual sorting.
Add keywords systematically during import or immediately after culling, while the session details are fresh. A consistent keyword taxonomy (species names in standardized format, location names, behavioral tags like “feeding,” “flight,” “portrait”) makes searching your catalog years later practical. Many photographers use a keyword hierarchy built from controlled vocabulary lists – the Getty controlled vocabulary or the CEPF Biodiversity keyword list are good starting points for wildlife photographers.
AI Tools Transforming Nature Photography Editing in 2026
Artificial intelligence has genuinely changed the editing workflow for nature photographers over the past three years. The improvements in AI-powered noise reduction, subject selection, and upscaling are not incremental – they represent step changes in capability that save significant time and improve quality simultaneously.
AI Noise Reduction: The Biggest Workflow Change
Before AI denoise (2022–2023), serious noise reduction required round-tripping to Topaz DeNoise AI or DxO PhotoLab – a time-consuming process that added steps to every high-ISO image workflow. Lightroom Classic’s AI Denoise (Denoise button in the Detail panel, requires Lightroom 12.3+) and Capture One’s AI Denoise bring comparable results in-application. The quality improvement over traditional luminance noise reduction is substantial at ISO 3200 and above – the AI model distinguishes between fine detail and noise far better than algorithmic approaches, preserving feather texture, fur detail, and fine grass stems that traditional NR destroys.
The practical effect: ISO 12800 images that were previously marginal are now routinely printable at 16×20 inches after AI denoise processing. Wildlife photographers shooting in low light at dawn and dusk have genuinely wider ISO latitude than they did three years ago – not because the sensors changed, but because the tools to process the output improved.
AI Subject Selection and Masking
Adobe Sensei’s AI subject and background detection (Lightroom, Camera Raw, Photoshop), Capture One’s subject selection, and Luminar Neo’s masking AI tools have made targeted adjustments – previously requiring tedious manual selection in Photoshop – accessible in minutes within your primary editing software. For nature photography, the practical applications are significant: selectively boosting exposure on a backlit bird, reducing background brightness to eliminate distractions without affecting the subject, applying aggressive noise reduction to a plain sky while leaving textured wildlife detail untouched.
The accuracy of these AI masks on complex subjects – a bird with intricate feather detail against a similarly-toned background, a deer partially occluded by vegetation – has improved dramatically in recent software versions. Lightroom’s “Select Subject” works reasonably on clear subjects; Photoshop’s “Remove Background” with refinement handles complex subject-background separations at a level that would have required minutes of manual path work previously.
AI Upscaling for Small Files and Cropped Images
Topaz Gigapixel AI remains the benchmark for upscaling nature photography images – whether enlarging a native file for print beyond its native resolution or recovering a heavily cropped wildlife image. A 20MP image can be reliably upscaled 2x (to 80MP equivalent) while maintaining fine detail quality that holds up at print sizes where the native resolution would show softening. The improvement over standard Bicubic upscaling is particularly visible in fine detail like feathers, fur, and insect wing patterns – areas where bicubic interpolation introduces artificial smoothing that AI upscaling handles as genuine detail.
Lightroom Classic’s own “Enhance → Super Resolution” (4x pixel count, equivalent to 2x linear resolution) produces results competitive with Gigapixel AI for clean, well-exposed images, and it integrates directly into the Lightroom workflow without round-tripping. For heavily noisy high-ISO images that need both denoising and upscaling, Topaz Photo AI’s combined denoise-and-sharpen pipeline gives somewhat better control over the interaction between the two processes.
Photoshop for Nature Photography: When to Use It and When Not To
Photoshop is the most powerful image editing tool available, but it’s also the most time-consuming for routine nature photography editing. Understanding when its capabilities are worth the extra complexity – and when staying in Lightroom or Capture One is smarter – saves significant time.
When Photoshop Is Worth It
Use Photoshop for: complex composite images (blending a separately captured sky with a foreground shot, merging focus-stacked frames, combining multiple exposures for HDR or time-of-day blends); removing large distractions from images (power lines, intrusive objects, background elements that can’t be dealt with by cropping); detailed retouching of fine art prints intended for sale (dust spots, processing artifacts, print preparation); and any work requiring advanced selection tools like Channels-based selections, Pen Path selections, or the Select and Mask workspace for very complex subject-background separations.
When to Stay in Lightroom or Capture One
For the vast majority of nature photography editing – global tonal adjustments, color work, AI denoise, subject masking, dodging and burning, output sharpening, and export – Lightroom Classic handles the work faster and within a single application. The round-trip to Photoshop (Edit In → Photoshop → save → return to Lightroom) adds time and creates additional files. A good rule of thumb: if you’re spending more than 30 seconds trying to accomplish something in Lightroom that would be straightforward in Photoshop, switch. Otherwise, stay in Lightroom and maintain your workflow speed.
What is the best free photo editing software for nature photography?
Darktable is the best free RAW photo editor for nature photography – it’s open source, handles RAW files from most modern cameras, and offers non-destructive editing with a curve-based workflow similar to Lightroom. RawTherapee is another free alternative with excellent fine-control tools. Neither has the AI masking capabilities of paid tools, but both produce excellent results for photographers willing to invest learning time.
Is Lightroom or Capture One better for nature photography?
Both are excellent. Lightroom offers better catalog management, more educational resources, and excellent AI tools in 2026 (especially AI Denoise). Capture One provides superior RAW color rendering on many cameras and a more advanced layer-based editing workflow. Most photographers will be better served starting with Lightroom for its ease of use and community resources, then considering Capture One if they find themselves needing better color accuracy for fine art print work.
Do I need Photoshop in addition to Lightroom for nature photography?
Most nature photographers can complete 95%+ of their workflow in Lightroom alone. Photoshop adds value for: complex object removal/cloning, multi-image compositing (focus stacking, exposure blending), manual sky replacement, and fine-tuned print output via Photoshop’s more powerful ICC printing tools. The Photography plan on Adobe Creative Cloud includes both Lightroom Classic and Photoshop for a bundled price.
What is the best photo editing software for beginners to nature photography?
Adobe Lightroom Classic is the best starting point for most beginners – it handles RAW processing, organization, and export in one application, has the largest library of tutorials and community support available, and the skills transfer directly to professional workflows. Start with the Adobe Photography Plan ($9.99/month) which includes Lightroom Classic, Lightroom cloud, and Photoshop. ON1 Photo RAW is the best one-time-purchase alternative at approximately $100, with no subscription and a similar workflow. Avoid starting with Photoshop alone – it’s a compositing and pixel-editing tool, not an efficient RAW processor or photo organizer.
Can I edit nature photos on an iPad instead of a computer?
iPad-based editing has become viable for serious nature photography work, particularly with the M-series iPad Pro and Air. Lightroom for iPad has near-feature-parity with the desktop version including RAW processing, preset syncing, and AI masking. Affinity Photo 2 for iPad provides full Photoshop-level compositing capability on iPad. The main limitations are catalog size management for large libraries (syncing 50,000+ images is impractical via cloud) and round-trip processing for AI denoise on very high-ISO files, which is slower on iPad than a desktop workstation. For travel editing and reviewing sessions in the field, iPad editing is excellent; for final output and large catalog management, a dedicated desktop or laptop workstation is still more practical.
How much RAM do I need for editing high-resolution nature photos?
For Lightroom Classic editing of 24–45MP RAW files, 32GB of RAM is the recommended minimum for smooth performance – 16GB works but shows slowdowns during AI Denoise and Enhance operations. For 45–61MP files or if you’re also running Photoshop alongside Lightroom, 64GB is the practical target. RAM is the most impactful hardware upgrade for Lightroom performance, more so than CPU speed or additional GPU VRAM for most editing workflows. For Capture One, the RAM requirements are similar. A fast NVMe SSD for your Lightroom catalog and scratch disk is the second most impactful hardware element – catalog operations on a mechanical hard drive are significantly slower than on SSD storage.
Browse more nature photography tutorials, gear reviews, and field tips.
Download our guide: exposure, ISO, and aperture strategies for every light condition and terrain.
We respect your inbox. One guide, occasional tips, unsubscribe anytime.
Related Guides
 Best Polarizing Filters for Nature Photography (2026): 6 CPL Filters Compared
 Best Camera Settings for Macro Photography: How to Photograph Flowers and Insects Up Close
 Best Large Format Photo Printers (2026): 17-Inch to 24-Inch Wide Format Reviews