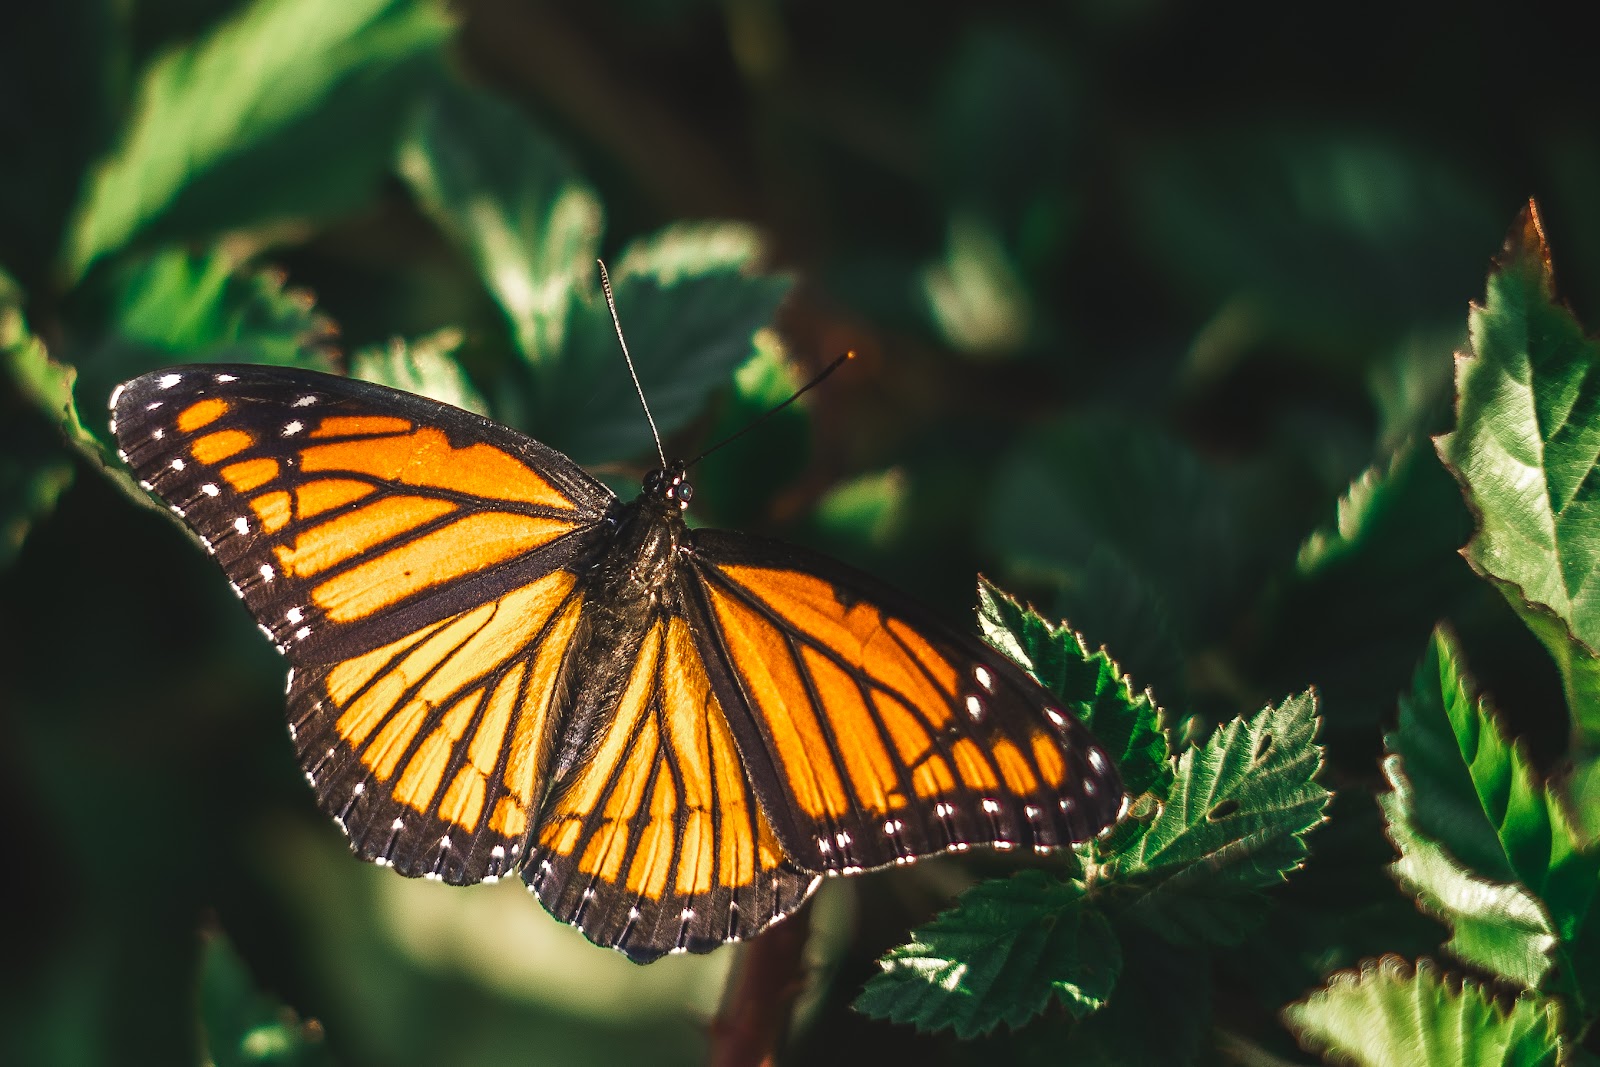
You are crouching in your garden with a macro lens attached. The light is hitting a dew-covered rose perfectly. You take the shot. You zoom in on the back of the camera and the petal you thought was sharp is completely blurry. The stamen is sharp, but you wanted the whole face of the flower. Here is what to adjust and why macro photography plays by different rules than any other kind of shooting.
Why Macro Photography Is Different
At close focusing distances, depth of field collapses to just a few millimeters. At f/2.8 and 1:1 magnification, you might have less than 1mm of depth of field. That means even the slightest camera movement or focus shift puts your subject out of focus. This is why the settings that work fine for landscape or portrait photography do not work for macro.
The three challenges in macro photography are: getting enough depth of field, avoiding camera shake at close distances, and dealing with subject movement from wind or natural insect movement.
Step-by-Step Camera Settings for Macro Photography
Step 1: Use Aperture Priority and Start at f/11
Set your camera to aperture priority and start at f/11. This gives you several millimeters of depth of field at 1:1 magnification, which is enough to get most of a flower face in focus. If you want a dreamy, isolating look with very little in focus, try f/5.6 or f/8. If you need more of the subject sharp, go to f/16. Avoid f/22 on most lenses as diffraction starts to soften the image.
Step 2: Set ISO to 100 or 200
Keep your ISO as low as you can. Macro shots are highly magnified, which means sensor noise is also magnified. At ISO 1600 or above, you will see ugly noise in fine petal textures and insect hair. Use ISO 100 in good natural light. In shade or overcast, ISO 400 is acceptable.
Step 3: Set Shutter Speed to at Least 1/200s
Even on a tripod, flowers move in the slightest breeze. A shutter speed of 1/200s or faster is your friend outdoors. In still indoor conditions with a tripod, you can use slower speeds. For handheld macro shooting, try to stay at 1/500s or faster. This requires bumping your ISO, which is an acceptable tradeoff.
Step 4: Use Manual Focus for Precision
Autofocus struggles in macro photography because it locks onto whatever has the most contrast, which is often not your intended subject. Switch to manual focus and turn the focus ring slowly while watching the subject. If your camera has focus peaking (which highlights sharp edges in a color), turn it on. Alternatively, use live view and zoom in to 5x or 10x to check sharpness before shooting.
Step 5: Use a Tripod and Remote Shutter Release
At 1:1 magnification, any camera movement is amplified dramatically. Even pressing the shutter button can cause enough movement to blur your shot. Use a tripod and a remote shutter release, or switch to your camera’s 2-second self-timer. If your camera has mirror lock-up, use it. If it has electronic front curtain shutter, enable that too.
Step 6: Use Natural Light or a Diffused Flash
Soft natural light from a slightly overcast sky is ideal for flowers because it is shadowless and even. Direct harsh sunlight creates blown-out highlights on shiny petals. If you want more light control or need to freeze subject movement, a macro ring flash or a small off-camera flash with a diffuser gives you fast, soft light that stops motion cold.
Camera Settings Reference for Macro Photography
| Situation | ISO | Aperture | Shutter Speed | Support |
|---|---|---|---|---|
| Flowers on tripod, calm day | 100 | f/11 | 1/125s – 1/200s | Tripod + remote |
| Insects (still, perched) | 400 | f/8 – f/11 | 1/400s – 1/640s | Handheld or tripod |
| Insects (active, moving) | 800-1600 | f/8 | 1/1000s or faster | Handheld |
| Windy conditions, flowers moving | 400-800 | f/8 | 1/500s or faster | Handheld or tripod |
| Studio / indoors with flash | 100 | f/16 | 1/200s (sync speed) | Tripod + remote |
Focus Stacking for Maximum Depth of Field
Sometimes you simply cannot get enough of your subject in focus in a single shot. Flowers viewed at an angle or beetles photographed from the side present more depth than even f/16 can handle. The solution is focus stacking.
You take a series of shots, each focused at a slightly different distance, covering the full depth of your subject from front to back. Then you merge these images in software like Lightroom, Photoshop, or Helicon Focus. The software takes the sharpest pixels from each frame and combines them into one image where everything is in focus.
For focus stacking, keep your camera on a tripod and shoot at f/8 (to avoid diffraction) with ISO 100. Take 5 to 15 shots, moving your focus point slightly forward with each frame. The number of shots you need depends on the depth of your subject.
Frequently Asked Questions
Do I need a dedicated macro lens?
A true macro lens gives you 1:1 reproduction ratio, which means the subject appears life-size on your sensor. This is the gold standard for macro work. However, you can also use close-up diopter filters, extension tubes, or reverse lens adapters to achieve macro-like magnification at lower cost. Each method has trade-offs in image quality and ease of use.
What is the best focal length for a macro lens?
For flowers and static subjects, a 60mm or 90mm macro lens lets you get close. For insects and subjects that require distance to avoid startling them, a 100mm to 180mm macro gives you more working distance between the front of the lens and the subject. The extra working distance also lets you position a diffuser or reflector between the lens and subject.
Why are my macro photos always blurry?
The most common cause is camera movement at the moment of exposure. Even on a tripod, pressing the shutter button introduces vibration. Use your self-timer or a remote shutter release. The second most common cause is subject movement from wind. Shoot on calm days or in protected spots, and use a faster shutter speed (1/500s or more) when there is any breeze.
Should I shoot macro in RAW or JPEG?
Always shoot RAW for macro photography. Macro images often need fine adjustments to sharpening, noise reduction, and local corrections that RAW files handle much better than JPEG. The fine petal textures and insect details in macro work reward careful post-processing.
What is focus peaking and should I use it?
Focus peaking is a camera feature that highlights edges that are in focus with a colored overlay (usually red or white). It is extremely useful for manual focus macro work because you can see exactly which part of your subject is sharp as you turn the focus ring. If your camera has it, turn it on whenever you shoot macro.
Recommended Resources
Macro photography rewards careful attention to light and composition. Our guide to the best cameras for nature photography includes sensors with excellent resolution and dynamic range that hold up well at high magnification. Once you have captured your macro images, our guide to the best photo editing software for nature photographers will help you sharpen, denoise, and process your close-up shots for the best results. For those interested in expanding into more types of nature photography, check out our summer nature photography guide for ideas on subjects, locations, and seasonal timing.
Gear that helps
- A macro focusing rail – At 1:1 you focus by moving the camera, not the ring. This is the single biggest jump in keeper rate.
- Extension tubes – The cheapest way to get a lens you already own closer than it was designed to go.
- A ring light or diffuser – Small apertures eat light, and on-camera flash at this distance needs softening.
- A collapsible reflector – Fills the shadow side of an insect without a second light.
Nature Photo Gear is a participant in the Amazon Services LLC Associates Program. If you buy through these links we earn a commission at no extra cost to you.
Browse more nature photography tutorials, gear reviews, and field tips.
Download our guide: exposure, ISO, and aperture strategies for every light condition and terrain.
We respect your inbox. One guide, occasional tips, unsubscribe anytime.
Related Guides
 Best Polarizing Filters for Nature Photography (2026): 6 CPL Filters Compared
 How to Photograph the Milky Way: Settings, Planning & Post-Processing
 Mastering Long Exposure Photography: A Complete Guide to Silky Water & Dramatic Skies