The RAW vs JPEG debate is one of the oldest in digital photography — and in nature photography specifically, the answer is almost always RAW. But understanding why RAW wins, and when JPEG is a legitimate choice, helps you make informed decisions in the field rather than following a rule you don’t fully understand. This guide breaks down every meaningful difference between the two formats specifically for nature photographers.
What Is a RAW File?
A RAW file is the unprocessed sensor data captured by your camera — every photon recorded by the sensor, with no in-camera processing applied. The camera does not apply sharpening, noise reduction, contrast enhancement, white balance conversion, or color rendering to a RAW file. Instead, it stores all of that raw data and leaves those decisions to you in post-processing software.
RAW files are typically 2–5x larger than JPEGs at the same resolution. They require specialized software to open (Adobe Lightroom, Capture One, DxO PhotoLab, or your camera manufacturer’s own software). They look flat and unimpressive straight out of camera compared to a JPEG. And they reward the effort: a well-processed RAW file contains significantly more detail, latitude, and quality than any in-camera JPEG can produce from the same sensor data.
One important technical note: a RAW file is not a single universal format. Canon CR3, Nikon NEF, Sony ARW, and Fuji RAF are all different RAW formats that require different software support. Most major RAW processors support all major camera manufacturers, but check compatibility before purchasing any new camera or software.
What Is a JPEG?
A JPEG is a compressed, processed image file. When you shoot JPEG, the camera applies its own processing pipeline — white balance, sharpening, noise reduction, contrast curves, color rendering — and then compresses the result using lossy compression. The result is a smaller file that’s immediately viewable, shareable, and ready to use without post-processing.
The trade-off is permanence. The camera’s processing decisions are baked into the file. If the white balance is wrong, you can adjust it in software — but you’re working from a processed 8-bit file with much less data than the original sensor capture. JPEG stores 256 tonal levels per channel; RAW files contain 4,096–16,384 tonal levels per channel (12-bit and 14-bit RAW respectively). That additional tonal data is what gives RAW its processing latitude advantage.
RAW vs JPEG: The Critical Differences for Nature Photographers
Highlight and Shadow Recovery
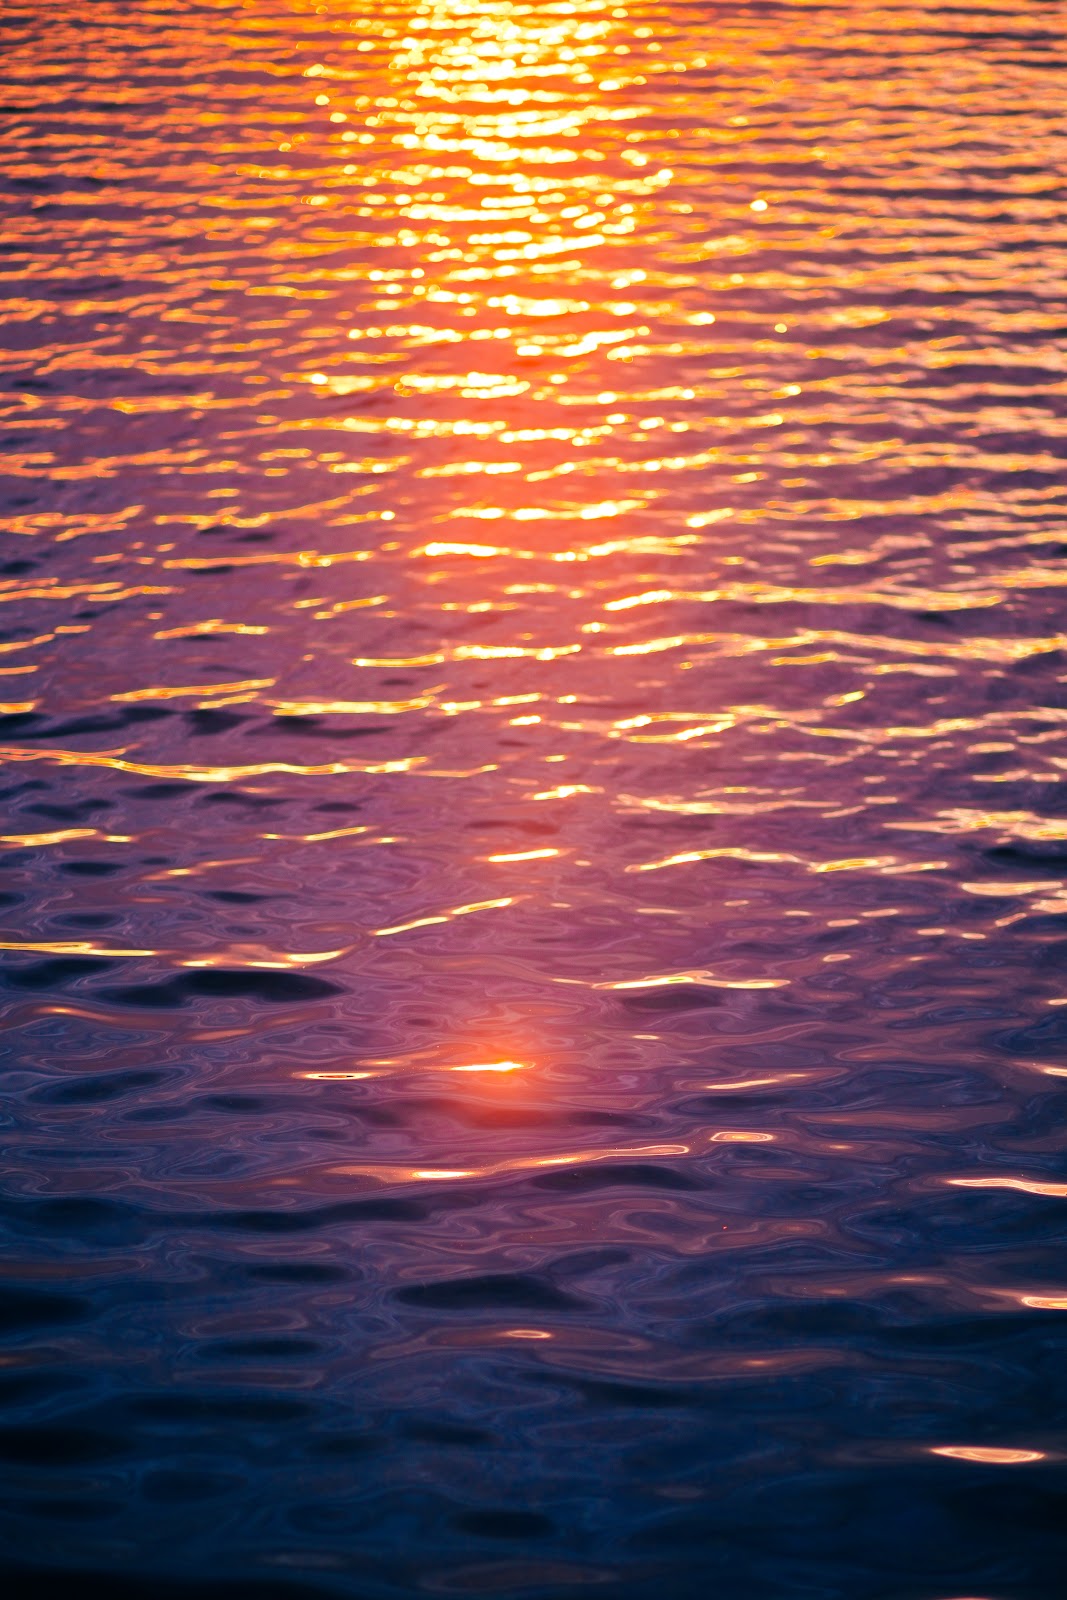
This is the most practically significant difference for nature photography. Dynamic range — the ability to capture detail in both the bright sky and the dark forest floor in the same frame — is where RAW files clearly outperform JPEG.
A typical modern full-frame mirrorless camera captures 12–14 stops of dynamic range in RAW. From a properly exposed RAW file, you can typically recover 2–3 stops of overexposed highlights (blown-out sky gradually restored to cloud detail) and lift 3–5 stops of underexposed shadows (dark forest floors revealed with acceptable noise). A JPEG from the same camera, processed by the camera’s engine, might allow 1 stop of highlight recovery and 1–2 stops of shadow recovery before the image falls apart.
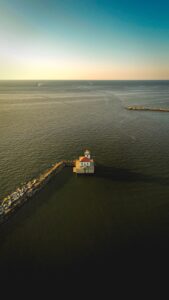
In nature photography — with its unpredictable backlighting, sunrise scenes where the sky is 5 stops brighter than the foreground, and wildlife moments in deep shade — this latitude is not a luxury. It regularly determines whether a shot is salvageable or deleted.
White Balance Control
RAW files allow completely non-destructive white balance adjustments. Shoot a sunrise scene at the wrong Kelvin value and the entire image renders with a blue or orange cast — in RAW, you slide the white balance to the correct value and the image rebuilds from the original data, as if you had shot it correctly. In JPEG, white balance is baked into the file: you can shift it somewhat in software, but you’re color-correcting a processed image rather than adjusting the underlying data.
For nature photography, where light color changes dramatically from dawn through golden hour through overcast midday, and where mixed light (sunlit foreground, shaded background) creates complex white balance challenges, RAW’s flexible white balance is a genuine workflow advantage.
Color Accuracy and Rendering
RAW processing software gives you full control over how colors are rendered. Camera manufacturers design their JPEG color profiles to be pleasing and punchy — which is great for quick sharing but may not represent the scene accurately. In RAW, you can choose between multiple camera profiles, create custom calibrations, and fine-tune specific color ranges (making greens more yellow or blue, for example) without affecting other colors. This level of control is particularly valuable for nature photography where the accurate rendering of a specific bird’s plumage, a flower’s exact hue, or the particular orange of autumn leaves matters.
File Size and Speed
JPEG wins here, clearly. At the same resolution, a JPEG is typically 3–8MB vs. a RAW file at 20–80MB. This translates to faster buffer clearance during burst shooting (you can sustain longer burst sequences before the buffer fills), faster card write times, and dramatically smaller storage requirements. For photographers covering fast-moving sports or wildlife action at 30fps, JPEG’s speed advantage is real and meaningful.
Modern cameras have largely closed this gap with fast processors and large buffers — the Sony A9 III can sustain 120fps in compressed RAW without buffer limitations — but on older bodies or with slower cards, JPEG’s speed advantage can determine whether you capture a critical moment.
Workflow and Time Investment
JPEG requires minimal post-processing — many images can be used directly from camera with no editing. RAW requires at minimum opening each file in editing software and making basic adjustments. A full RAW workflow for 500 frames from a wildlife session is a meaningful time investment. For photographers who shoot primarily for personal use or social sharing (rather than commercial or fine art output), JPEG’s workflow simplicity is a legitimate consideration.
When to Shoot RAW in Nature Photography
RAW is the right choice whenever any of the following apply:
- Challenging or unpredictable lighting: Golden hour, backlit subjects, deep shade, mixed light, or any scenario where the dynamic range is stretched.
- Unique or unrepeatable moments: Wildlife encounters, rare weather events, once-in-a-trip locations. You get one chance; RAW gives you the most processing latitude to make it work.
- Print or commercial output: Large prints, licensed images, editorial use — all benefit from the extra resolution and tonal detail that RAW-processed files provide.
- Night and astrophotography: High-ISO noise reduction and the detail recovery in shadow areas are dramatically better with RAW processing than in-camera JPEG.
- Any scene you plan to process carefully: Landscape photography, where deliberate composition and careful post-processing are the workflow, should virtually always be RAW.
When JPEG Is a Reasonable Choice
JPEG isn’t always the wrong choice:
- Fast-turnaround journalism or news: Photographers filing images from the field with no time for processing — JPEG straight to editor is the standard workflow.
- High-volume wildlife burst shooting on older bodies: Where buffer clearance rate makes the difference between missing a shot and capturing it.
- Perfect light conditions: On an overcast day with even illumination and predictable color, JPEG in a well-calibrated camera profile produces excellent results with zero post-processing overhead.
- Social sharing and personal documentation: Where the final output is a phone screen or Instagram post, JPEG’s quality is entirely sufficient.
RAW+JPEG: The Best of Both Worlds?
Most modern cameras offer a RAW+JPEG mode that simultaneously writes both formats. You get the immediate usability of JPEG alongside the archival quality and processing latitude of RAW. The trade-off: approximately double the storage consumption and slower buffer clearance on burst shooting. This is a reasonable choice for photographers who want quick-share images without sacrificing the RAW master file. If storage cost is not a concern and your burst sequences are moderate, RAW+JPEG is a sound approach for nature photography.
Recommended Editing Software for RAW Files
Your RAW processor significantly affects final image quality. Different software handles noise reduction, color rendering, and sharpening differently:
- Adobe Lightroom (subscription): The industry standard. Excellent RAW processing, strong library management, and deep integration with Photoshop for advanced editing. The most widely supported and documented option.
- Capture One 23 (boxed version) — A premium RAW processor with particularly strong color tools and reportedly better noise handling than Lightroom on some camera RAW files. A one-time purchase option (boxed version) avoids the subscription model.
- Skylum Luminar Neo — An AI-focused editing tool that excels at creative enhancement. Its AI noise reduction and sky replacement tools are impressive, though it’s less suited to large-volume library management than Lightroom or Capture One.
- DxO PhotoLab: Best-in-class optical corrections and PRIME/DeepPRIME noise reduction. Particularly effective for high-ISO wildlife RAW files from cameras with supported lens profiles.
Storage Gear for RAW Shooters
RAW files create meaningful storage demands. A 3-day wildlife trip shooting 45MP RAW at moderate volume generates 200–400GB easily. High-volume bird-in-flight sessions at 30fps push significantly higher. Plan for three-tier storage: fast cards in the field, a portable SSD for daily backups, and redundant home storage (NAS or external drives) on return.
- Sony Tough CFexpress Type A Card 160GB — Sony’s professional CFexpress Type A card. The 160GB capacity handles a full day of RAW shooting for most sessions. The Tough series durability (waterproof, drop-resistant, temperature-rated) matters for nature photography in adverse conditions.
- SanDisk Extreme Pro 1TB Portable SSD — 1TB portable SSD for field backups. Fast USB 3.2 speeds allow quick nightly backups at camp. The compact form factor fits in any camera bag pocket. Never leave a shooting location without backing up your cards.
A practical field storage strategy: bring enough cards to cover the entire trip without needing to reformat. Back up each day’s cards to the SSD before reformatting anything. Return home with at minimum two copies of every image — one on cards, one on SSD.
Frequently Asked Questions
Should beginners shoot RAW or JPEG?
Beginners should shoot RAW from the start if they plan to learn post-processing. RAW forces you to engage with white balance, exposure, and color in editing software, which accelerates your understanding of how those variables work. If you’re shooting purely for immediate sharing with no interest in post-processing yet, JPEG is fine — but plan to switch to RAW as your interest in quality grows. Many photographers who started on JPEG regret not having RAW files from their early work once their editing skills improve.
Do RAW files look worse than JPEGs straight out of camera?
Yes — RAW files appear flat and desaturated straight from camera because no processing has been applied. The camera applies sharpening, contrast, color enhancement, and noise reduction to JPEGs automatically. When you open a RAW file in editing software, you’ll see an unprocessed version of the image that requires your own adjustments to match the camera’s JPEG rendering — and then exceed it. Most RAW processors offer camera-matching profiles that apply the camera’s JPEG rendering as a starting point, which helps close the initial gap.
Is there a quality difference between RAW and JPEG for printing large?
Yes, particularly at larger print sizes (24×36 inches and above). RAW files processed carefully retain more fine detail, smoother tonal gradations, and lower noise than same-resolution JPEGs. The difference is often invisible on screens and in small prints, but at 24×36 inches on a high-quality fine art paper, a well-processed RAW file produces a visibly superior result. For photographers selling large-format prints, RAW is not optional.
Can I convert JPEG to RAW after the fact?
No — once an image is saved as JPEG, the RAW sensor data is discarded and cannot be recovered. You can open a JPEG in RAW processing software (Lightroom treats JPEGs as “raw” files in a loose sense), but you’re working from the compressed, processed 8-bit data, not the original sensor capture. This is why the decision to shoot RAW must be made in the field, before capturing the image. There is no post-capture workaround.
Browse more nature photography tutorials, gear reviews, and field tips.