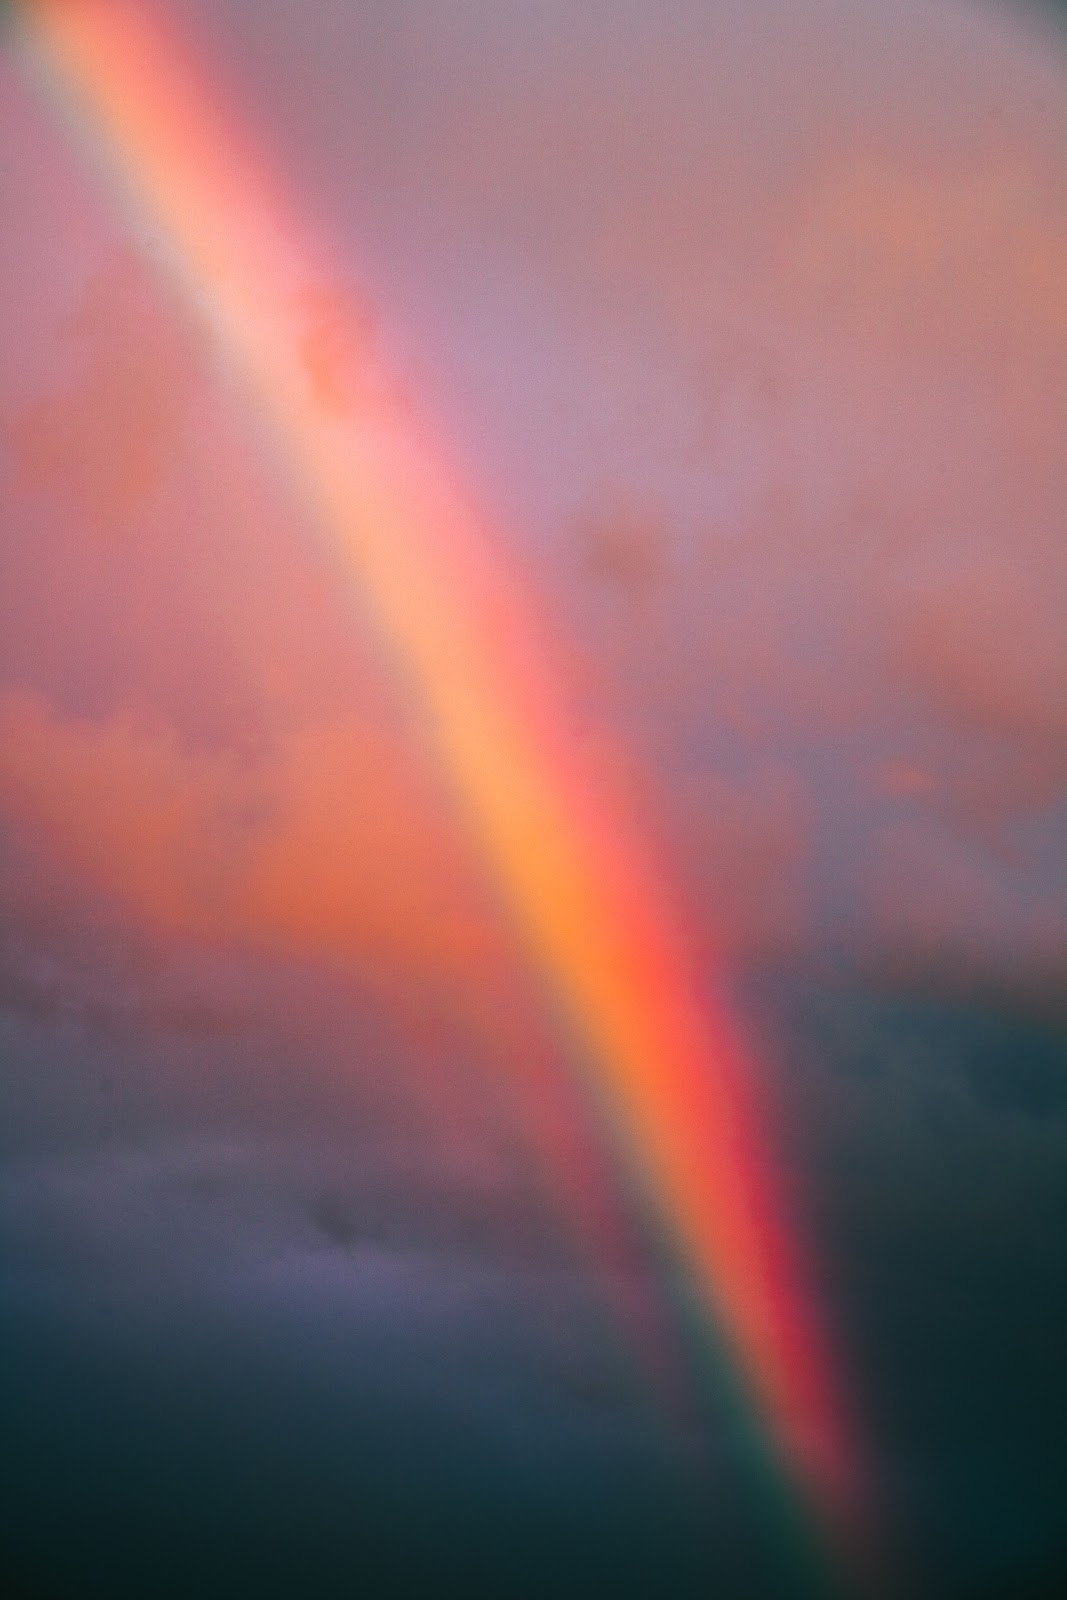
You’re standing in a field in northern Michigan at 11pm in January. It’s 12 degrees Fahrenheit. The sky to the north has just turned a pale greenish white, and your phone weather app is buzzing with aurora alerts. You pull out your camera — and realize you have no idea what settings to use.
Photographing the northern lights (aurora borealis) is one of the most spectacular experiences in nature photography. The good news is that the camera settings are straightforward once you understand the basic logic. Here is exactly how to capture a sharp, colorful aurora shot from start to finish.
Step 1: Set Up on a Tripod
Northern lights photography requires long exposures, which means a tripod is not optional. Even a modest 5-second exposure will produce a blurry, unusable image if you are hand-holding. Set up your tripod on solid ground, extend the legs fully, and make sure the ball head is locked down tight before you start shooting.
Use a remote shutter release or your camera’s self-timer (set to 2 seconds) to avoid camera shake from pressing the shutter button. If your camera has a mirror lockup setting, use it.
Step 2: Choose the Right Lens
A wide-angle lens is the best tool for aurora photography. Wide lenses let you capture more of the sky in a single frame, and they allow wider maximum apertures (f/2.8 or even f/1.8) that let in far more light than a zoom at f/5.6.
A 14mm, 16mm, 20mm, or 24mm prime at f/2.8 or wider is ideal. An ultra-wide zoom like a 14-24mm f/2.8 or 16-35mm f/2.8 also works well. If you only have a kit zoom, use it at its widest focal length and accept that you may need a slightly higher ISO to compensate for the narrower aperture.
Step 3: Set Your Aperture
Open your aperture as wide as it will go. For most dedicated aurora lenses, that means f/2.8 or wider. The wider the aperture, the more light hits your sensor during the exposure, which lets you use a shorter shutter speed (reducing blur from aurora movement) or a lower ISO (reducing noise).
One exception: some very fast lenses (f/1.4, f/1.8) are slightly soft at their widest aperture. If your lens fits this description, stop down one-third to one-half stop from wide open for sharper stars and foreground.
Step 4: Set Your Shutter Speed
This is a balance between two competing needs. A longer shutter speed captures more light from a faint aurora. A shorter shutter speed freezes aurora movement and keeps the display looking crisp instead of smeared.
For a moderately active aurora, 8-15 seconds is a good starting range. For a very active, fast-moving aurora (pillars shooting up quickly, curtains rippling), try 2-5 seconds at a higher ISO to freeze the motion. For a faint, slow-moving glow, you can go as long as 20-25 seconds.
You also have to consider stars. If you want pinpoint stars rather than star trails, you need to follow the 500 rule: divide 500 by your focal length to get your maximum shutter speed before star trails appear. At 20mm, that is 500 / 20 = 25 seconds. At 14mm, it is 500 / 14 = about 35 seconds. On a crop sensor, divide by your crop factor first.
Step 5: Dial in Your ISO
ISO is your brightness control for dim-light situations. For northern lights, start at ISO 1600 and check your histogram. If the image is too dark, go to ISO 3200. If it is bright and noisy, pull back to ISO 800.
Modern full-frame mirrorless cameras handle ISO 3200 and even ISO 6400 with minimal noise. If you are shooting a crop-sensor camera, ISO 1600-3200 is typically the useful ceiling before noise becomes distracting.
Step 6: Switch to Manual Focus and Focus on Infinity
Autofocus cannot work in total darkness — it has nothing to lock onto. Switch your lens to manual focus and set it to infinity.
Here is the important detail: the infinity mark on many lenses is not perfectly accurate. The safest approach is to zoom into a bright star in your live view display at maximum magnification, then adjust your focus ring until that star is as small and sharp as possible. Lock that position in (some lenses have a focus lock ring, others you simply leave the ring in place).
Step 7: Shoot RAW and Review Your Histogram
Shoot in RAW format. Aurora colors (green, purple, pink) are produced by different atmospheric gases and different wavelengths of light. RAW lets you adjust white balance, exposure, and color saturation after the fact. JPEGs apply the camera’s in-camera rendering and give you much less flexibility.
After your first exposure, check your histogram. You want the data shifted toward the left-center of the histogram, not pushed hard against the right (overexposed) or far left (too dark to work with). Adjust ISO or shutter speed accordingly.
Camera Settings Reference Table
| Aurora Activity | ISO | Aperture | Shutter Speed | Notes |
|---|---|---|---|---|
| Faint glow on the horizon | 3200 | f/2.8 | 15-20s | Go longer if aurora is still faint |
| Moderate aurora, visible bands | 1600 | f/2.8 | 8-12s | Good balance of detail and color |
| Strong aurora, slow movement | 800 | f/2.8 | 5-8s | Shorter exposure preserves structure |
| Very active aurora, fast movement | 3200-6400 | f/2.8 | 1-3s | Freeze the fast-moving curtains |
| Moonlit scene with aurora | 800 | f/2.8 | 4-8s | Moon illuminates foreground nicely |
Frequently Asked Questions
What camera settings are best for northern lights?
Start with ISO 1600, aperture f/2.8, and a 10-second shutter speed. Check your histogram and adjust from there. A faint aurora needs a longer exposure or higher ISO. A fast-moving aurora needs a shorter exposure (1-3 seconds) and higher ISO to freeze the motion.
How do I focus in the dark for aurora photography?
Switch to manual focus. In live view, zoom in on a bright star or distant light and adjust the focus ring until the star or light is as sharp and small as possible. Tape the focus ring in place once you find the spot, or note the position so you can return to it if the ring slips.
Why does the aurora look green to the camera but pale to my eye?
Your eyes are less sensitive to color in low light than your camera sensor. The long exposure accumulates light your eyes cannot see in real time, revealing the vivid greens, purples, and pinks that are actually present. This is completely normal — cameras often capture aurora more dramatically than you see it in person.
What is the best time of year to photograph the northern lights?
The aurora is visible year-round at high latitudes, but you need darkness to see and photograph it. The best months are September through March in the northern hemisphere, when nights are long. The equinoxes in March and September tend to produce elevated geomagnetic activity.
Do I need a full-frame camera for northern lights photography?
No. A crop-sensor camera works well, especially newer mirrorless models with good high-ISO performance. You may need to push ISO slightly higher (1600-3200) to match the exposure flexibility of a full-frame body, but the results can be excellent.
What to Read Next
Gear plays a big role in aurora photography. See our astrophotography gear guide for a full rundown of cameras, lenses, and accessories for night sky work. If you’re planning a trip and working with a budget, our guide to best affordable cameras for northern lights photography covers solid options at every price point. And if you’re also interested in shooting the Milky Way, see our best cameras for Milky Way photography guide.
Gear that helps
- A fast wide-angle lens – The aurora moves, so you want short exposures, which means fast glass.
- Spare batteries – Cold flattens a battery fast. Keep the spares in an inside pocket.
- A sturdy tripod – Non-negotiable, and it needs to handle wind.
- Hand warmers – Also useful taped near the lens barrel to hold off condensation.
Nature Photo Gear is a participant in the Amazon Services LLC Associates Program. If you buy through these links we earn a commission at no extra cost to you.
Browse more nature photography tutorials, gear reviews, and field tips.
Download our guide: exposure, ISO, and aperture strategies for every light condition and terrain.
We respect your inbox. One guide, occasional tips, unsubscribe anytime.
Related Guides
 How to Photograph the Milky Way: Settings, Planning & Post-Processing
 Mastering Long Exposure Photography: A Complete Guide to Silky Water & Dramatic Skies
 How to Get Sharp Photos With a Telephoto Lens: Technique and Settings
 How to Photograph Waterfalls: Getting Silky Smooth Water with the Right Settings