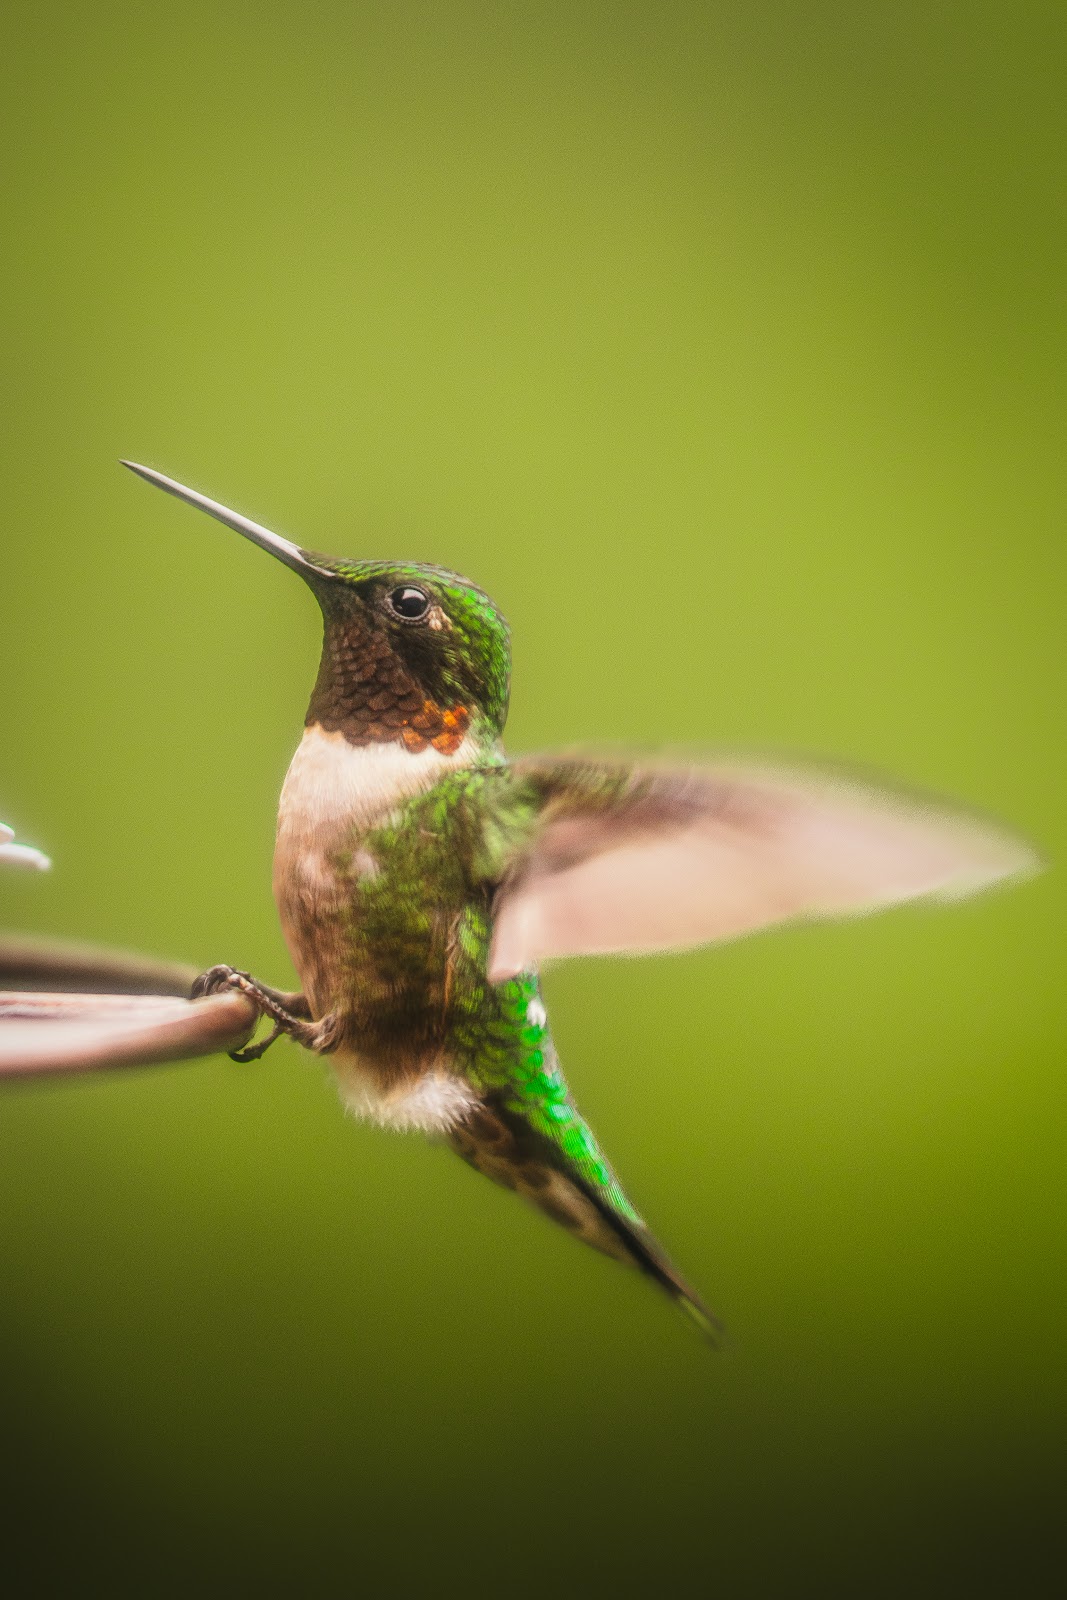
You’re standing at the edge of a marsh at sunrise. A great blue heron lifts off the water 40 feet away, wings spreading wide. You raise your camera, fire the shutter — and get a blurry mess. The wing tips are smeared, the head is soft, and the whole shot looks like a watercolor painting gone wrong.
Birds in flight are one of the most rewarding subjects in nature photography — and one of the most technically demanding. Once you have the right settings dialed in, though, the shots start coming consistently. Here is exactly how to do it.
Step 1: Set Your Shutter Speed First
Shutter speed is the single most important setting for birds in flight. You need it fast enough to freeze wing motion, which changes constantly during a wingbeat cycle.
For large, slower birds like herons, pelicans, and geese, 1/1600s is a workable starting point. For medium-sized birds like ducks and hawks, aim for 1/2000s. For fast, small birds like swallows, terns, and shorebirds, you often need 1/2500s to 1/3200s to freeze the wing tips cleanly.
When in doubt, go faster. A slightly underexposed photo can be recovered in Lightroom. A blurry wing tip cannot.
Step 2: Choose Your Aperture
Most telephoto lenses produce their sharpest images when stopped down a stop or two from wide open. If you are shooting a 500mm f/5.6 lens, try f/7.1 or f/8. If you are on a 100-400mm zoom, f/6.3 or f/8 is a solid choice.
A narrower aperture also gives you a slightly deeper depth of field, which helps when a bird is banking or turning and its distance from you changes quickly. In low light, you may need to open up to f/4 or f/5.6 and compensate with a higher ISO.
Step 3: Use Auto ISO or Set ISO Manually
In changing light — like during the golden hour, or when birds fly between sun and shade — Auto ISO is extremely useful. Set your minimum shutter speed and maximum aperture, then let the camera raise ISO as needed up to your noise tolerance (usually ISO 3200-6400 on a modern mirrorless body).
In consistent bright light, you can lock ISO manually. ISO 400 in full sun, ISO 800 on an overcast day, and ISO 1600-3200 during early morning or evening low light.
Step 4: Switch to Continuous Autofocus
This is where most beginners go wrong. Single-shot AF locks focus on where the bird was when you half-pressed the shutter — not where it is now. For moving subjects, you need continuous AF, which keeps re-calculating focus as the subject moves toward or away from you.
Canon calls it AI Servo. Nikon calls it AFC. Sony uses AFC as well. On Fujifilm it is AF-C. Turn it on and leave it on any time you are photographing anything that moves.
If your camera has subject tracking or bird detection AI (many current mirrorless cameras do), enable it. This makes a huge difference — the camera locks onto the bird’s eye and stays there even when the bird is weaving through a complex background.
Step 5: Set Your AF Zone
With continuous AF enabled, you also need to choose how wide a zone the camera uses to find and track the subject.
For birds in flight against a clean sky, a wide or zone AF area works well and gives the camera more space to find the bird. For birds in cluttered environments like trees or water with a busy background, a smaller zone or flexible spot AF keeps the camera from jumping to the background.
If your camera has bird-detect or animal-detect tracking, use the widest area and let the AI do the tracking for you.
Step 6: Shoot in Burst Mode
Birds are unpredictable. They bank, flare their wings, look left, look right, and occasionally do something spectacular you could not have planned for. Burst mode gives you the best chance of capturing the peak moment in the wingbeat cycle — usually when the wings are fully extended up or fully swept down.
Set your camera to high-speed continuous shooting. Most modern cameras shoot 10-20 frames per second in electronic shutter mode. Use a fast memory card so your buffer does not fill up.
Step 7: Track and Pan Smoothly
Keep your subject in the viewfinder by moving the camera smoothly to follow the bird’s path. Start tracking the bird before it reaches your ideal shooting position, so your AF has time to lock on before you start firing.
Hold your elbows close to your body for stability. Pivot from your hips rather than just your wrists. For hand-holding a long telephoto, use image stabilization set to the mode designed for panning (usually Mode 2 on Canon IS lenses, or the sport/action IS setting on other brands).
Camera Settings Reference Table
| Situation | ISO | Aperture | Shutter Speed | AF Mode |
|---|---|---|---|---|
| Bright sun, large bird (heron, pelican) | 400 | f/7.1 | 1/2000s | AI Servo / AFC |
| Overcast, medium bird (duck, hawk) | 800 | f/5.6 | 1/2000s | AI Servo / AFC |
| Early morning, any bird | 1600 | f/5.6 | 1/1600s | AI Servo / AFC |
| Bright sun, small fast bird (swallow, tern) | 800 | f/6.3 | 1/3200s | AI Servo / AFC |
| Backlit bird at sunrise | 1600-3200 | f/4 | 1/2000s | AI Servo / AFC |
Frequently Asked Questions
What is the best shutter speed for birds in flight?
For most birds, 1/1600s to 1/2000s is the minimum. For fast, small birds like swallows or terns, use 1/2500s to 1/3200s. In good light, always lean toward faster rather than slower. You can recover a slightly underexposed image; you cannot fix blur in post.
What autofocus mode do I need for birds in flight?
You need continuous AF — AI Servo on Canon, AFC on Nikon, Sony, and Fujifilm. Single-shot AF will not track a moving bird and you will miss most shots. If your camera has bird-eye detection or animal tracking, enable it for dramatically higher keeper rates.
Do I need a special lens for birds in flight?
A telephoto in the 300mm to 600mm range is ideal. A 100-400mm or 150-600mm zoom gives you flexibility at different distances. The lens also needs a fast AF motor — older lenses with slow AF will struggle to keep up with birds changing direction quickly.
Why are my birds in flight photos blurry even with a fast shutter speed?
The most common cause is using single-shot AF instead of continuous AF. Also check that your lens is not hunting — if AF is struggling against a busy background, try a smaller AF zone. Camera shake with a heavy telephoto can also cause blur; use image stabilization and consider a monopod.
Should I shoot RAW or JPEG for birds in flight?
RAW gives you the most flexibility in post to recover exposure and reduce noise. The tradeoff is larger files and a smaller buffer during burst shooting. Many photographers use RAW for slower sequences and switch to JPEG when they need a long, sustained burst.
What to Read Next
Once your settings are dialed in, the right gear makes a big difference. See our guide to the best cameras for bird photography for a full breakdown of the top bodies for speed and AF. For reach, our best telephoto lenses for bird photography covers every budget. And for a broader look at settings across all wildlife, see our complete wildlife photography settings guide.
Gear that helps
- A 100-400mm class telephoto – The practical entry point for flight work.
- Fast memory cards – Buffer depth is the limit on a long burst, and the card is half of that equation.
- A monopod and fluid head – Lets you track a moving bird without carrying the lens weight.
- Spare batteries – Continuous AF and high frame rates drain a battery fast.
Nature Photo Gear is a participant in the Amazon Services LLC Associates Program. If you buy through these links we earn a commission at no extra cost to you.
Browse more nature photography tutorials, gear reviews, and field tips.
Download our guide: exposure, ISO, and aperture strategies for every light condition and terrain.
We respect your inbox. One guide, occasional tips, unsubscribe anytime.
Related Guides
 How to Photograph the Milky Way: Settings, Planning & Post-Processing
 Mastering Long Exposure Photography: A Complete Guide to Silky Water & Dramatic Skies