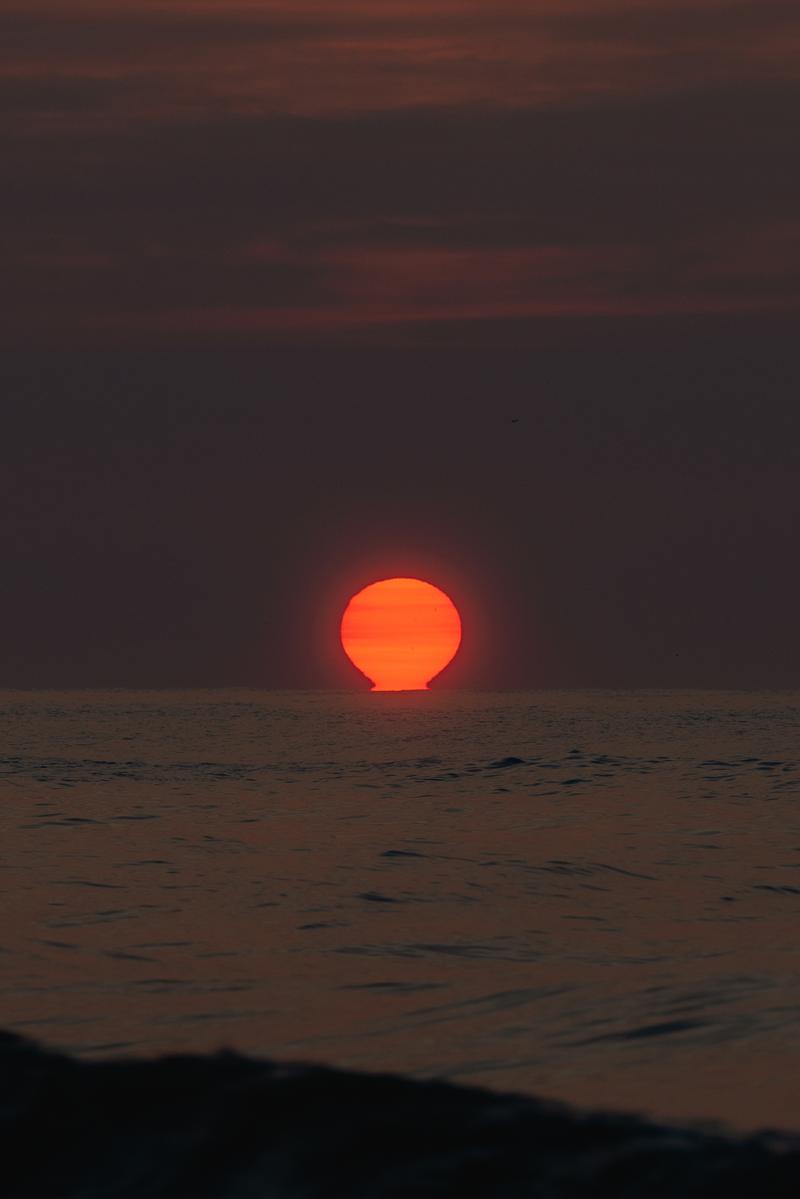
You set up your tripod in the backyard on a clear October night. A full moon hangs low and enormous over the treeline. You fire the shutter, check the back of the camera — and see a washed-out white blob with zero surface detail. No craters. No maria. Just a glowing circle with clipped highlights.
The moon is deceptively tricky to photograph well. It is extremely bright compared to the dark sky around it, it moves faster than you expect, and most beginners use the wrong settings entirely. Once you understand the logic, though, you can reliably capture crisp shots with clear crater detail. Here is exactly how.
Why Most Moon Photos Come Out Wrong
The moon is a sunlit rock. It is reflecting direct sunlight and is genuinely very bright — far brighter than it looks to your eye against a dark sky. Your camera’s meter looks at all that black sky surrounding the moon and tries to expose for the average scene, which massively overexposes the moon itself and blows out all surface detail.
The fix is to expose for the moon’s surface specifically, not for the dark sky around it.
Step 1: Use the Looney 11 Rule as Your Starting Point
The Looney 11 rule is a simple guide for full moon exposure: set your aperture to f/11, your ISO to 100, and your shutter speed to 1/100s (or 1/ISO, so 1/100 at ISO 100). This gives a correctly exposed moon surface in most conditions.
In practice, many photographers find f/8 at ISO 100 and 1/250s works equally well and gives a sharper image (most lenses are slightly sharper at f/8 than f/11). Use this as your starting point and adjust based on your histogram.
The key rule: keep the moon’s highlights from blowing out. Check your histogram and make sure the peak is not pushed hard against the right edge. If it is, reduce exposure by 1/3 stop increments until you can see lunar surface texture in your preview.
Step 2: Use a Long Telephoto Lens
The moon is 2,159 miles in diameter but 239,000 miles away. To fill a significant portion of your frame, you need a long lens. A 200mm lens on a full-frame camera will render the moon at roughly 2mm across the sensor — small enough to show detail but not dramatic. A 400mm lens gets you to about 4mm. A 600mm or 800mm fills the frame much more impressively.
On a crop-sensor camera, multiply by your crop factor. A 400mm lens on a 1.5x APS-C body gives you an equivalent field of view of 600mm — perfectly usable for moon photography.
Even a 70-300mm kit zoom can produce excellent moon photos when conditions are right. Use it at maximum zoom and stabilize the camera well.
Step 3: Put the Camera on a Tripod
The moon moves across the sky faster than you might expect. At 200mm, it crosses the frame in about 30 seconds. At 600mm, it moves noticeably within just a few seconds. A tripod eliminates camera shake. A ball head that pans smoothly lets you track the moon without bumping the camera.
Also: turn off image stabilization when the camera is on a tripod. On many lenses, IS or VR can actually introduce vibration when the camera is stationary, slightly softening your images.
Step 4: Focus Manually
Autofocus can struggle in the dark, hunting back and forth across the boundary between the bright moon and the black sky. Manual focus is more reliable for moon photography.
Switch to live view on your camera, zoom into the moon at maximum magnification (usually 10x), and adjust your focus ring until the crater edges look as sharp and crisp as possible. The goal is to see the transition between lunar highlands and maria (the dark flat plains) as a clean, sharp line.
Step 5: Use a Remote Shutter Release
Pressing the shutter button with your finger introduces vibration, especially with a heavy telephoto lens. Use a remote shutter release (wired or wireless) or set your camera’s self-timer to 2 seconds. This lets any vibration from your touch settle before the shutter opens.
Step 6: Shoot RAW and Bracket Your Exposures
Shoot in RAW so you can fine-tune exposure and bring out detail in post. The moon’s surface contains a wide range of tones from bright polar craters to dark volcanic plains, and RAW gives you the most latitude to work with those.
Take 3-5 frames at slightly different exposures (use exposure compensation in 1/3-stop increments) and pick the best one in post. A single frame may look correctly exposed on the LCD but reveal blown highlights or crushed shadow detail when you open it in Lightroom.
Step 7: Consider the Moon Phase and Timing
A full moon is the brightest and most recognizable, but crescent and gibbous phases often produce more dramatic images. At these phases, the sun is hitting the moon from an angle, throwing the crater rims into sharp shadow and creating a more three-dimensional appearance. The terminator line — where light and shadow meet — is a stunning area to focus on.
The best time to photograph the moon rising or setting is when it is low on the horizon near recognizable landmarks like trees, buildings, or mountain ridgelines. This creates context and scale that a lone moon in a black sky lacks.
Moon Photography Settings: Quick Reference Table
| Situation | ISO | Aperture | Shutter Speed | Notes |
|---|---|---|---|---|
| Full moon, clear sky | 100 | f/8 | 1/250s | Starting point; adjust if highlights clip |
| Gibbous or crescent moon | 100-200 | f/8 | 1/125-1/200s | Slightly dimmer; longer exposure needed |
| Moon rising low on horizon | 200-400 | f/8 | 1/100-1/160s | Atmosphere dims it; lift exposure slightly |
| Moon with landscape foreground | 400-800 | f/5.6-f/8 | 1/60-1/125s | Expose for the landscape; moon may clip |
| Total lunar eclipse | 1600-3200 | f/4-f/5.6 | 1-4s | Eclipsed moon is 10,000x dimmer |
Using Manual Focus for Night Photography
The manual focus technique from Step 4 works for more than the moon. Autofocus fails in the dark for the same reason every time: the camera needs contrast to lock on, and night scenes rarely give it enough. Here is the routine that works for stars, city lights, and moonlit landscapes alike:
- Switch the lens or body to MF so the camera cannot hunt at the moment you press the shutter.
- Turn on live view and magnify. Punch in to 5x or 10x on the brightest point available: the moon, a bright star, a distant streetlight.
- Rock the focus ring past sharp and back. Sharpness is easier to recognize when you approach it from both sides. Stop where the point of light is smallest.
- Use focus peaking if your camera has it. Peaking highlights in-focus edges, which helps when nothing in the frame is bright enough to magnify.
- Tape or note the position. A strip of gaffer tape on the focus ring keeps a knock from ruining the rest of the night. Do not trust the infinity mark on the barrel; most lenses focus past true infinity.
One habit prevents most ruined night sessions: re-check focus every 20 to 30 minutes. Temperature changes shift the focus point on long lenses, and a drift you cannot see on the rear screen is obvious at full size at home.
Frequently Asked Questions
How do I get sharp, detailed photos of the moon?
Use a tripod, manual focus zoomed in on the lunar surface in live view, and a remote shutter release. Set ISO 100, f/8, and around 1/250s for a full moon. Turn off image stabilization when the camera is on a tripod. Shoot RAW and check that the highlights are not blown out.
What focal length do I need to photograph the moon?
The longer, the better. At 200mm the moon will be small in the frame; at 400mm it starts to look significant; at 600mm or longer it fills the frame impressively. A 70-300mm zoom is a useful starting point. A 100-500mm or 150-600mm zoom gives dramatic results.
Why does my moon photo come out completely white with no detail?
Your camera is overexposing for the dark sky and blowing out the moon’s surface. The moon is bright — it is a sunlit rock. Use the Looney 11 rule: f/11, ISO 100, 1/100s. Or try f/8, ISO 100, 1/250s. Override your camera’s automatic metering entirely by shooting in manual mode.
What is the best phase to photograph the moon?
A full moon is the most recognizable but the least dramatic for crater detail (the sun is hitting it straight-on, so there are no shadows). A crescent or gibbous moon, with the sun at an angle, creates shadows that show crater rims and ridges in three dimensions. The first and last quarter phases are particularly good for crater detail near the terminator line.
Should I use autofocus or manual focus for moon photography?
Manual focus is more reliable. In live view, zoom in to 5x or 10x on the lunar surface and adjust focus until crater edges are as sharp as possible. Autofocus can hunt and miss focus when trying to lock on the bright disk against a dark background.
What to Read Next
Moon photography is a great gateway into broader night sky work. If you want to expand into Milky Way and aurora photography, our astrophotography gear guide covers everything you need. For the best camera and lens combinations for night work, see our best cameras for Milky Way photography guide. And if focusing in the dark is a challenge, our deep-dive on how to focus in the dark covers every technique in detail.
Gear that helps
- A long telephoto – The moon is small in frame. Focal length is the entire problem.
- A teleconverter – Cheaper reach than a longer lens, at the cost of light and a little sharpness.
- A sturdy tripod – At these focal lengths handholding is not a realistic option.
- A remote shutter release – Mirror slap and finger pressure both show at 600mm.
Nature Photo Gear is a participant in the Amazon Services LLC Associates Program. If you buy through these links we earn a commission at no extra cost to you.
Browse more nature photography tutorials, gear reviews, and field tips.
Download our guide: exposure, ISO, and aperture strategies for every light condition and terrain.
We respect your inbox. One guide, occasional tips, unsubscribe anytime.
Related Guides
 How to Photograph the Milky Way: Settings, Planning & Post-Processing
 Mastering Long Exposure Photography: A Complete Guide to Silky Water & Dramatic Skies
 How to Get Sharp Photos With a Telephoto Lens: Technique and Settings
 How to Photograph Waterfalls: Getting Silky Smooth Water with the Right Settings